Welcome to the Yankee District website.
All members of the American Rose Society who live in New England are members of the Yankee district.
Learn to grow roses with us!
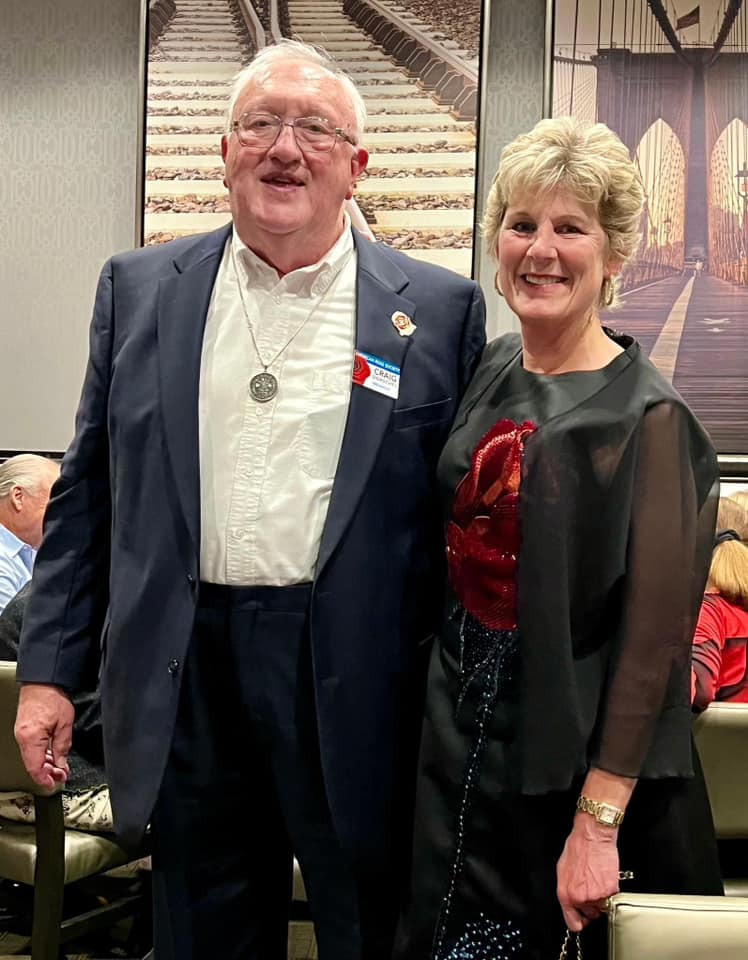
Craig Dorschel being inaugurated as our new American Rose Society President. Congratulations Craig! Carrie Bergs became our vice-president on September 12 as well

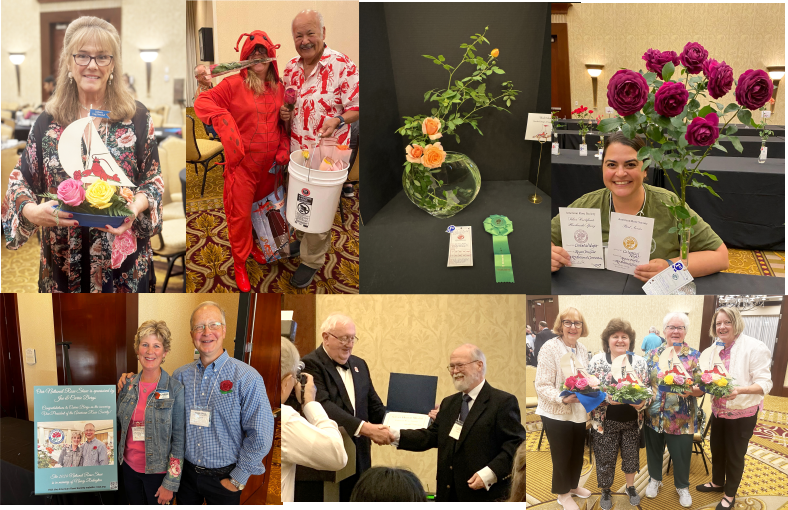
‘Sailing on a Sea of Roses’
ARS National Convention
September 9-13, 2024
Thank you to all who made this a wonderful National Convention and Show!
Hosted by the Yankee District with support of the Penn-Jersey and New York Districts
Website: https://seaofroses.org
Facebook Group : https://www.facebook.com/groups/seaofroses
Our thanks to Easy Elegance Roses
Premier sponsor of the Convention!